Everyone knows Microsoft Office and Word in particular to some extent. If you have ever made a CV then it is most likely you used Word. Familiarity breeds a belief that you “know” how it works. You might shrug your shoulder at the very idea of a penetration tester talking at you about the Office suite. Is this guy serious?
You spend hours practising with SQLMap but won’t take 30 minutes to save yourself hundreds of hours of effort over your career?
Most people have only scratched the surface and I usually find that a mere 30 minutes of talking to someone when they start with us is all it takes to get significantly better.
Setting up for Success
Word has a variety of options which can allow you to view more information. At first this will scare most people; “oh my gawd, the interface has changed!!!”. Trust cornerpirate, stick with these changes a little bit. That day word does something “weird”, most of these things will have helped you sort it.
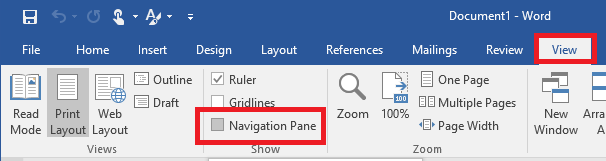
Navigation Pane
This turns on a new pane down the left which allows you to essentially pin the table of contents items to the left of the screen.
The following shows how to enable this through the “view” and “navigation pane” options:
Tick the highlighted check box and you will enable the navigation pane shown below:
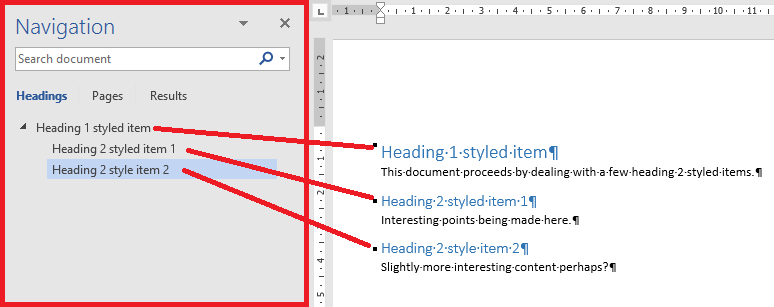
The above shows that text based on Heading 1 and Heading 2 styles have appeared on the navigation pane. Clicking on the heading in the navigation pane will move the focus in the editing pane (on the right).
If you imagine a document that is 100+ pages long, you will thank me later with how easy it is now to jump around to specific areas. That search box on the top of the navigation pane will do an effective grep which is like find on steroids too.
When you flip on this pane with old documents, you will frequently see “blank” headers in the navigation pane as shown below:

This is because someone has usually pressed “enter” after creating a header and word has decided to keep the paragraph marked as a header. This can really balls up your table of contents, now you can find it really easily.
The solution to that is to click on the blank line in the navigation pane, and apply the “normal” style to the offending part of the document.
Note: The badass way of applying the “normal” style is CTRL + SHIFT + N after placing the cursor somewhere in a document.
Ruler
This allows you to view the location of text in relation to the width and height. Wherever you put the cursor in the document you will be able to see exactly where stuff is.
The following shows how to enable this through the “view” and “ruler” options:

The above shows you where to enable it and how the ruler appears on screen.
I added an unordered list to my document and then clicked on the first entry. The following screenshot shows how the ruler can help you out:
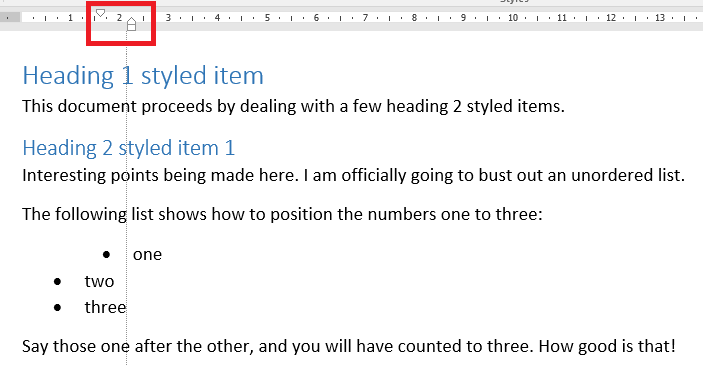
If you click on the bottom of the two triangles you can move the currently highlighted text left or right. It will drop the vertical line to show exactly where the text will be aligned.
Using that technique you can sort out “broken” items which just simply don’t seem to sit exactly where you want them to.
Show/Hide
This is probably the most contentious one since it causes people to instantly freak out about their document being “dirty” or something.
To enable “Show/Hide” you should click on “home” and then on the icon as highlighted below:
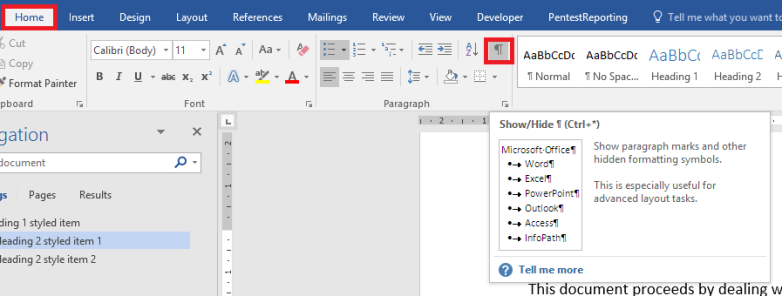
That weird little icon has probably been freaking you out for years right? You probably accidentally clicked it and panicked at least once.
As the tool-tip shows it displays paragraph marks and hidden formatting symbols. You will be able to spot a whole host of formatting issues with this enabled.
My favourite one that this shows is when somebody has made a document without using page breaks correctly. When somebody wants content to appear on the next page but they are unable to use page breaks. They will simply press enter a number of times until it goes onto the next page. This will “work”, but will also go wrong quickly if they then change the content above it.
The following screenshot shows how to use “show/hide” to spot that common issue:
Those items highlighted in the above are “line breaks”. They appear at the end of every paragraph and essentially start a new line of content in the document. When you see a number of these together you know that they are trying to get the Heading 2 item to appear at the top of the next page.
That is the tip of the iceberg for what you can do when you have this enabled.
Technical Tips
By following the tips above you will be set-up right to view and solve things like a pro. By following these tips you will know more about how to do the tasks you will need to make a document look right, and to deliver them quickly.
Images formatting and captions
You need to insert an image to illustrate a point? Nice one. You can do that by either saving an image and then inserting it using the options below:
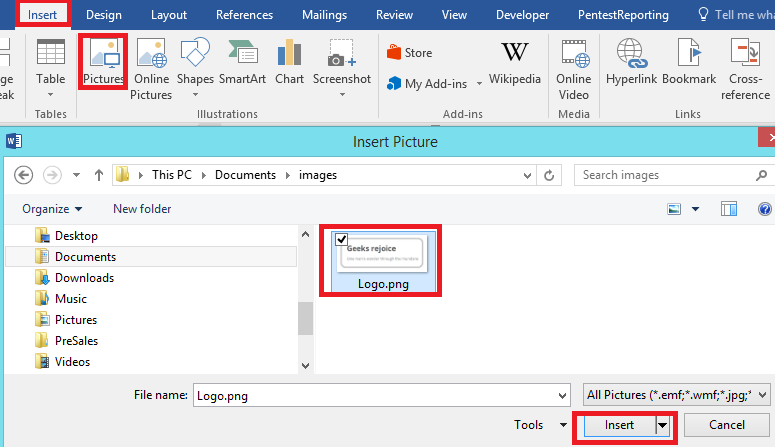
By clicking on “insert” and then “pictures” a file open dialogue will appear from which you can select the image. Clicking on the final “insert” will drop your image exactly where your cursor was.
You can also use paste to insert images if you copy them from another application or if you have just taken a screenshot.
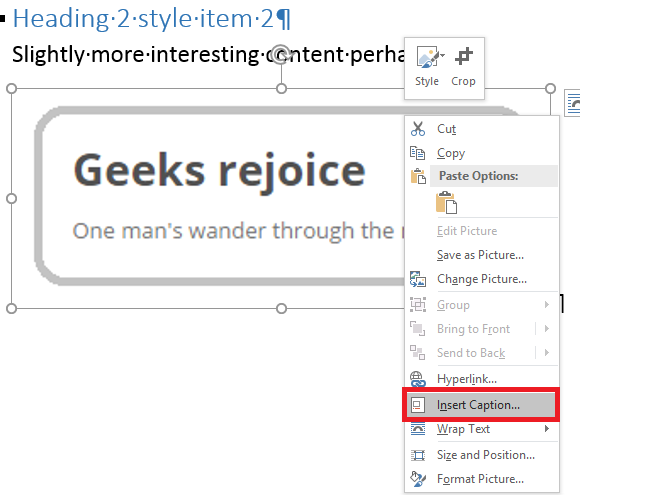
Once you have inserted an image you will need to add a caption to describe it. Right click on the image and then select “insert caption” as shown below:
After clicking on “insert caption” you will be presented with options for adding captions as shown below:
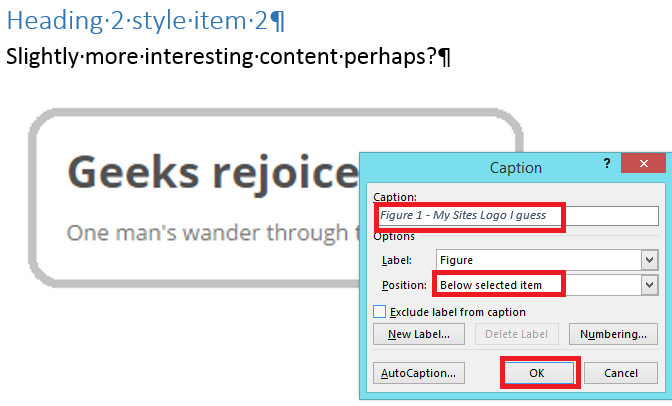
For images use the label “Figure” and for tables use the label “Table” simple eh? Write some text after Figure X so that it is described. Whatever you write here you will be able to display elsewhere when you use cross-references or make a table of figures. So make it descriptive.
I prefer all captions under the item so be aware of the position, and click “ok” to create your caption.
At this point your image and caption will be aligned to the left and it will look a bit odd. So select the image and the caption and then align it to the centre.
Finally, sometimes an image is mostly white around the edges. If it is and you want to make sure the image stands out from the page, then you can add a border to the image to ensure it looks good.
To do that click on the image and use the picture menu and then border gallery to select a style you like. The following screenshot shows where those options are:
The above demonstrates that a decent all round border has been applied and the shadows etc make it stand out.
Cross-References
A real level up for most word users is when they are able to write content in one location and then be able to refer the user to it elsewhere. By using a cross-reference to achieve this instead of simply writing “See Section 5.2” yourself, you will no longer have to worry about adding in new sections before it changing the intended cross-reference.
Word will keep you on the right track if you use it.
You can cross-reference to; tables, images, heading styles, numbered items and bookmarks. To do so use the “insert” -> “cross-reference” menu as shown:

In this case I have decided to select “Figure” from the reference type download. This gives me access to mostly images as entered using captions previously.
After clicking on “insert” at the bottom, a new cross-reference will be created in the document. The following screenshot shows what happens after I completed the sentence and then highlighted it:
When highlighted cross-references are a darker shade of grey. You can use this when working with word to ensure that people have actually used cross-references instead of just typing the text they wanted.
Not every reader will pickup on the fact that a cross-reference is something they can click on to navigate to the document. To help them out you should ideally create a style which makes it stand out from the normal text.
To do this create a new “Quick Style” and call it “CrossReference”. I went for something that looks a bit like a hyperlink which users are more familiar with. The following screenshot shows the final product:
Ok, I am not a graphic designer and I did that in 5 seconds. You get the idea eh? It looks like a link and someone might bother to click on it if they read a report you make in PDF form.
Building Blocks and Custom Galleries
The number one thing that you have been doing incorrectly all your life is to NOT use building blocks. Beg my indulgence here and you will save hours and hours.
How many times have you needed to use the same boilerplate text and simply had to go and find it in a previous report and then copy/pasted it? How many sleepless nights have you had over potentially dropping a previous customers name into your new report when you do so? The answers are probably more than once cornerpirate, more than once.
Wouldn’t it be good to save sanitised and default text which I can choose to insert someplace at my discretion? This is a superior strategy when making a template for others to work with than simply creating a default monolithic document containing all potential content types and expecting everyone else to delete the irrelevant parts.
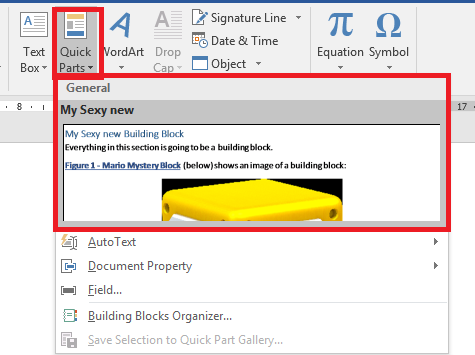
I have added more text to my sample document and selected that new text. This is going to be my building block. The following screenshot shows how to access the save option from the “insert” -> “quick parts” menu options:
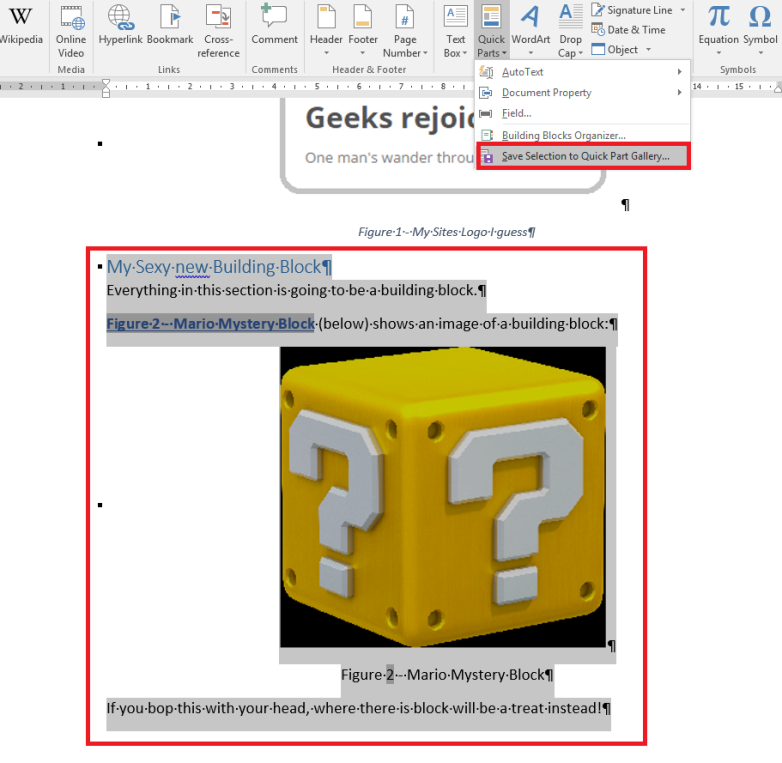
Once you click on the “Save Selection to …” item you will be presented with the menu shown below:

You can give a block a meaningful name. You can select which Gallery it is saved to. There are many galleries build by default and you can make your own. You can also choose where to save this building block.
If you were using a document based on a template your templates name would appear in the list. Things stored in “Building Blocks.dotx” are essentially available to EVERY word document. It is a good idea to keep blocks contained to a template if you then need to share it with other users. You are fine using the default location if you are anti-social and will NEVER EVER try to share things with anyone else.
But that was a faff cornerpirate, why did you make me do that? You can now re-use that building block anywhere you want to. Drop your cursor anywhere else in the document and then click on “insert” and “quick parts” again. This will show your new building block if you saved it to the “Quick Parts” gallery:
You can see a preview there and the name. Simply clicking on your one will “drop” it wherever the cursor was located in your document.
Now you know how to add things to a gallery but the menus are a *little* bit fiddly. So lets go balls to the wall here and add a new tab to the word ribbon (Google it, its called the ribbon) which allows us to be more organised about our building blocks.
Goto the Word Options menu and then select “Customize Ribbon” as shown:
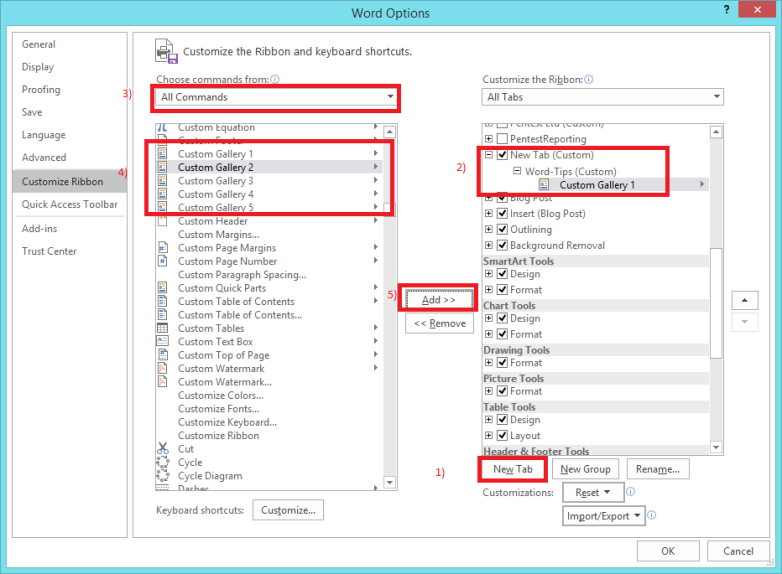
First add a new tab 1), then click on the new tab and give it a name (I used “word-tips”), and leave the group selected 2). Then change the drop-down at 3) to show all commands. Scroll down to find “Custom Gallery 1” 4), before clicking on “Add” at point 5).
Note; you can add literally 1,000’s of things to the ribbon. Go nuts now you can customise the interface via words inbuilt GUI!
This will “add” the predefined “Custom Gallery 1” to your new tab.
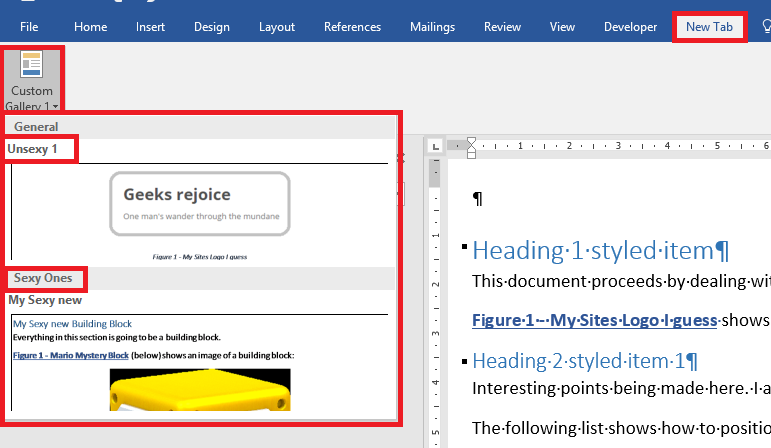
The above shows that you now have a “new tab” on which you have got “Custom Gallery 1”. If you redefine the building block to be in that gallery as opposed to the “Quick Parts” one then it will appear as shown.
Building blocks can have categories. The above shows one block in two different categories. You can figure out the rest.
===================================
Ok that is a pretty good start for you. This page is getting too long.
Regards
